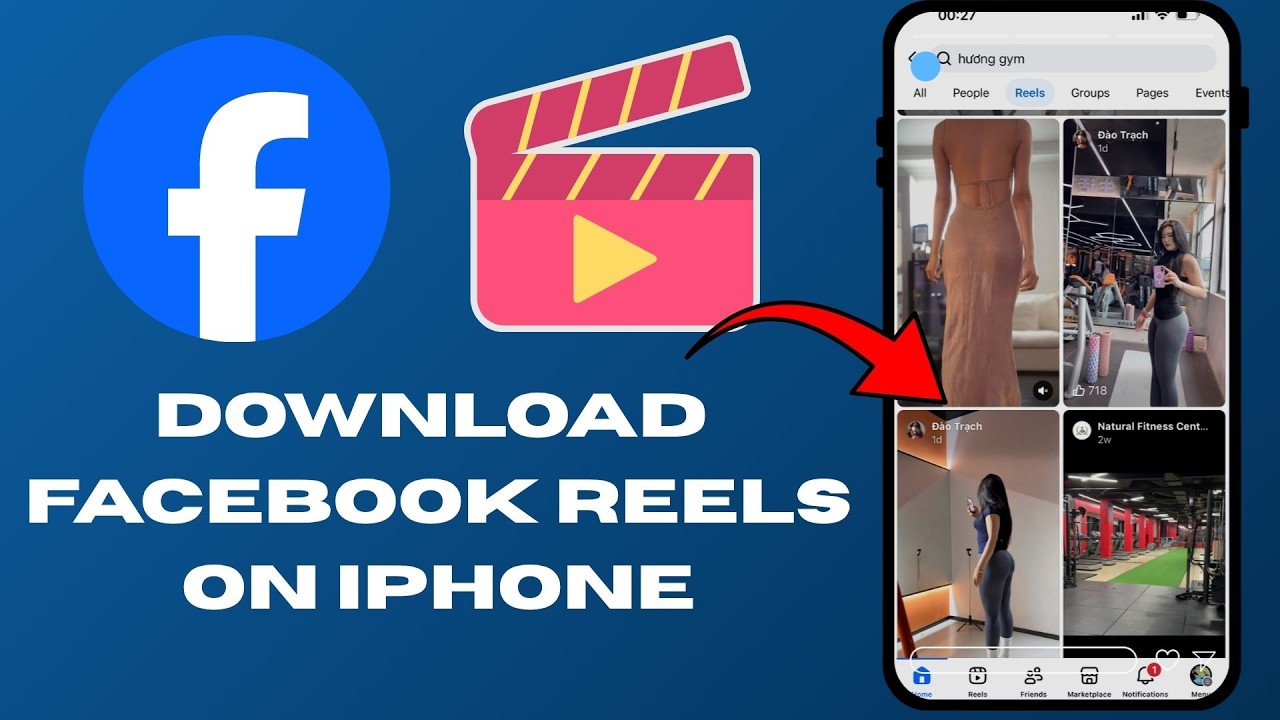
Save Facebook Reels on iPhone 2026 Without Apps — 6 Steps via fdown.net in High Quality Directly to Camera Roll
Why Record Your iPhone Screen as Video?
Screen recording on iPhone has countless everyday uses: documenting an app error and sending it to support, recording an important conversation, capturing a gaming moment or a video that can't be downloaded, explaining how to use an app for someone else, or saving temporary content from Snaps or Stories before they disappear.
Most social media apps don't allow direct video downloads due to privacy policies — but screen recording bypasses this restriction.
The iPhone has a fully built-in screen recording feature since iOS 11 — without installing any external app.
Step 1 — Adding the Recording Button to Control Center
The screen recording button doesn't appear in Control Center automatically — it must be added manually once and then stays available permanently.
Step 1: Open the "Settings" app on your device. Scroll down until you find "Control Center" and tap it.
Step 2: Tap "Customize Controls." You'll see a list of available buttons to add.
Step 3: Find "Screen Recording" in the list of available controls. Tap the green (+) sign next to it to add it to Control Center.
After adding it the Screen Recording button appears in the "Included" section — it's now accessible in Control Center at any time.
Step 2 — Opening Control Center Based on Your Device Model
How to open Control Center differs depending on your device model:
iPhone 8 Plus and older (with Home button): Swipe your finger from the bottom of the screen upward — Control Center will appear from the lower part.
iPhone X and newer (without Home button — iPhone 11, 12, 13, 14, 15, 16): Swipe your finger from the upper right corner of the screen downward. Important: don't swipe from the middle as that opens the Notification Center — swipe from specifically the upper right edge of the screen.
Step 3 — Starting Screen Recording
After opening Control Center you'll find the Screen Recording button — it looks like a circle inside a circle. Tap it once to start recording. A 3-second countdown will begin before actual recording starts — this lets you close Control Center and return to what you want to record. During recording a red bar appears at the top of the screen indicating recording is ongoing.
Step 4 — Enabling Audio Recording With the Screen
By default iPhone records your screen without microphone audio. To record your voice while explaining what appears on screen:
Press and hold the Screen Recording button in Control Center (instead of a regular tap). An additional window will appear with a microphone option. Tap the microphone icon to turn it red (enabled). Then tap "Start Recording." Now your voice from the microphone will be recorded along with the screen.
Note: Audio from apps and videos playing on screen is recorded automatically even without enabling the microphone — the microphone only adds your personal voice.
Step 5 — Stopping Recording and Saving
To stop recording: tap the red bar at the top of the screen then tap "Stop." Or open Control Center again and tap the recording button once more to stop it. The video will automatically save to the Photos app in the Camera Roll album.
What Can and Can't Be Recorded
You can record any regular app screen — WhatsApp, social platforms, games, browser and others. But some apps like Netflix and Disney+ prevent recording and show only a black screen instead of content for copyright reasons.
FAQs
CONTACT US
©2026 MobiTech Integrated Solutions. . All Rights Reserved