How to Number Pages in Word — Add, Hide, and Delete Numbering 2026
How to Add Page Numbers in Microsoft Word — Complete Guide 2026
Adding page numbers to a Word document is an essential step in formatting and organizing any file. Microsoft Word provides multiple numbering styles and placement options that can be applied to an entire document in seconds.
Steps to Add Page Numbers
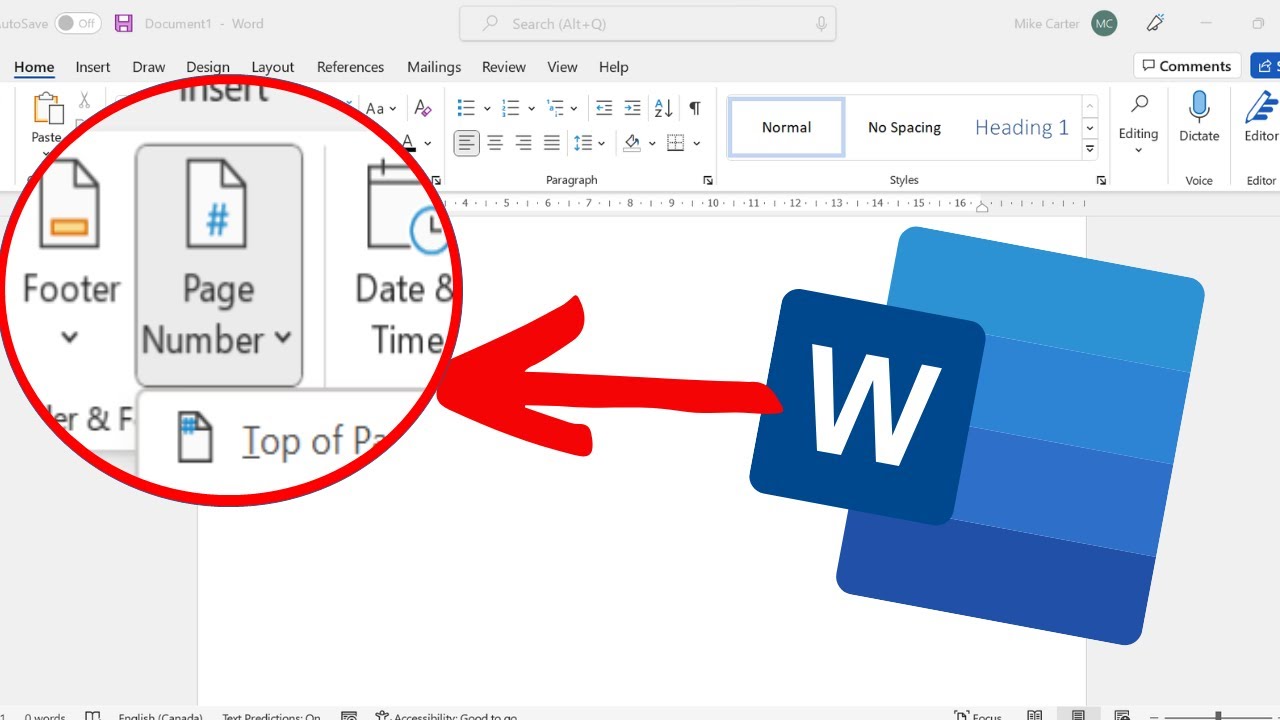
Open your Word document, click the Insert tab in the top ribbon, then click Page Number in the Header & Footer section. A dropdown menu will appear with placement options. Select Bottom of Page to display numbers at the bottom of each page, or Top of Page to display them at the top. A gallery of numbering styles will appear — select your preferred style, for example Plain Number 2 to center the number at the bottom. Word will automatically number all pages instantly. Double-click anywhere on the page body to exit the header/footer editing mode and apply the numbering.
Hiding the Page Number on the First Page
If the first page is a title page, you may not want it numbered. After selecting a numbering style, the Design tab will appear in the ribbon. Check the box labeled Different First Page and the number will be removed from the first page, with page 2 becoming the first numbered page. If the document is already numbered, double-click the page number on the first page to open the Design tab, then check Different First Page.
Starting Page Numbers from a Specific Number
Click Insert → Page Number → Format Page Numbers. In the Start at field, enter the number you want to begin from, then click OK. This is useful when a document has a cover page or introductory sections that should not be counted in the main numbering.
Removing All Page Numbers
Click Insert → Page Number → Remove Page Numbers to delete all page numbers from the document at once.
FAQs
CONTACT US
©2026 MobiTech Integrated Solutions. . All Rights Reserved