How to Install Wi-Fi Driver for Any Laptop — DriverPack Offline Network Guide
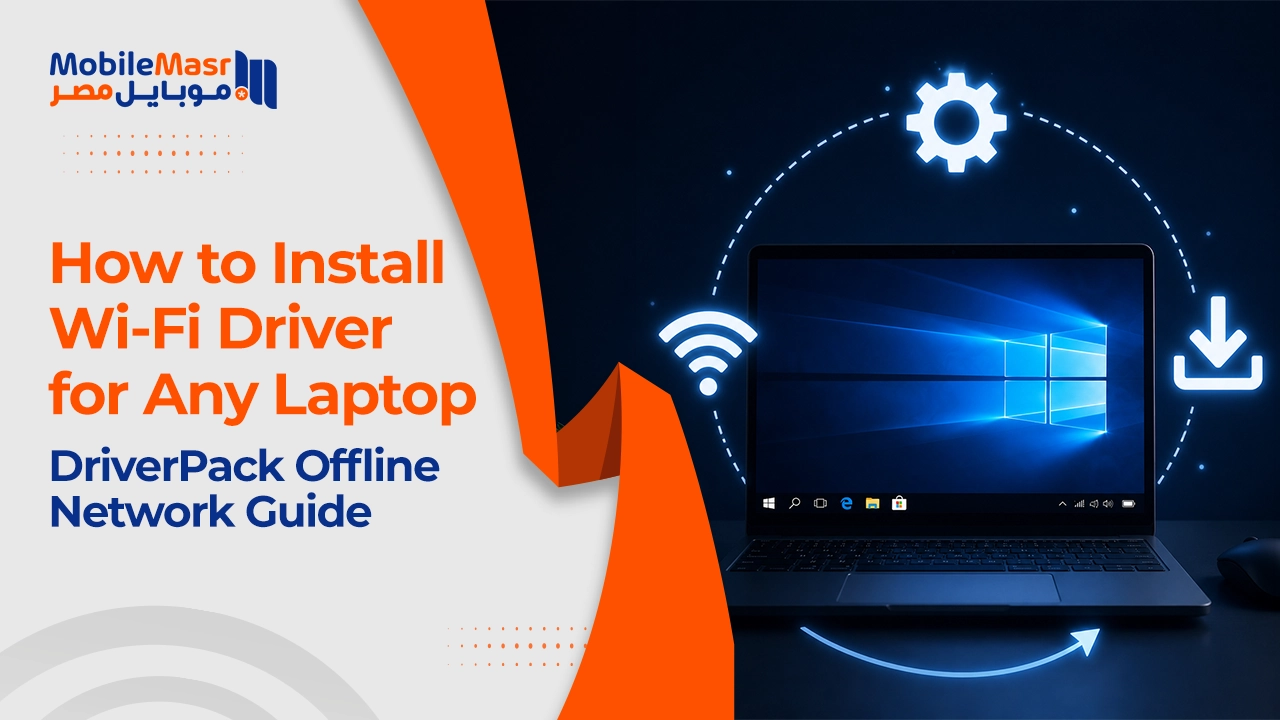
Install Wi-Fi Driver for Any Laptop
When you install a fresh Windows copy on a laptop, the very first thing you think about is installing the Wi-Fi driver — without it, you can't access the internet or download any programs or files. This guide covers how to install the Wi-Fi driver on any laptop for all Windows versions — Windows 7, 8, and 10 in all editions. The method works for all major laptop brands including Lenovo, HP, Dell, Acer, Asus, and Toshiba.

The Solution: DriverPack Offline Network
Since there's no internet connection on a laptop before the Wi-Fi driver is installed, the method presented here lets you install the driver without needing any internet connection on your device. All you need is to download the DriverPack Offline Network package — a Wi-Fi driver bundle covering all laptop devices, not a full driver package for all components.
DriverPack Offline Network is considered the best free Wi-Fi and wireless network driver tool for all desktops and laptops — working without an internet connection for Windows XP, 7, 8, 8.1, 10, Vista, and Server editions. It supports both 32-bit and 64-bit architectures.
Key Features
DriverPack Offline Network is one of the most important tools to always have available on your computer, since installing the network card driver is one of the first and most critical steps after setting up a new Windows installation.
It handles Wi-Fi driver installation for any laptop, supports Windows XP through Windows 10, covers both 32-bit and 64-bit systems, and works completely offline with no internet connection required.
Step-by-Step Installation Guide
Step 1: Download the Package
The DriverPack Offline Network package is approximately 492 MB and can be used to install Wi-Fi drivers on any laptop regardless of its brand.
Download and save the package to a USB flash drive before performing any fresh Windows installation.
Step 2: Extract the File
Double-click the file to open it — an extraction window will appear. Click Extract, choose a location on your hard drive to extract to, and wait for the extraction to complete successfully.
Step 3: Launch the Package
After extraction, you'll find five folders and a package icon. Double-click the icon to open it, and wait while the Wi-Fi driver package loads and detects your laptop type. The main interface will then appear.
Step 4: Install the Driver
The package will automatically detect your laptop's model. You can then click the green "Configure automatically" button, and the Wi-Fi driver will be installed automatically without any further input from you. Alternatively, click "Expert mode" at the bottom to manually select what to install, then click Install. After installation completes, restart your device to finalize the driver setup.
Important Note
It's strongly recommended to save this package on a USB flash drive or in a safe location on your device, so you can access it immediately after installing a new Windows copy in the future.
The method works for all Windows versions and all laptop brands, and requires no internet connection at the time of installation.
Alternative Methods
Download from the Manufacturer's Website
If you have internet access on another device, you can download the exact driver for your laptop from the manufacturer's official website. To find your exact laptop model, press Windows + R, type msinfo32 and press Enter — your device name and model will be displayed in the window.
Let Windows 10 Install the Driver Automatically
Sometimes Windows 10 can install the Wi-Fi driver automatically via Windows Update if the laptop is connected to the internet via a LAN cable. Try plugging an ethernet cable directly into the router and wait a few minutes — Windows may detect and install the correct Wi-Fi driver automatically.
Final Thoughts
DriverPack Offline Network is the ideal solution for installing a Wi-Fi driver on any laptop without an internet connection — it automatically identifies your device type and installs the appropriate driver with a single button press. Always keep it saved on a USB flash drive so it's ready every time you reinstall Windows.
FAQs
CONTACT US
©2026 MobiTech Integrated Solutions. . All Rights Reserved