Create a Twitter X Account 2026 — Complete Step-by-Step Guide With Screenshots From Registration to Customizing Interests
Why Create a Twitter X Account?
Twitter X is an unparalleled platform for following events moment by moment — from breaking news to technical, sports, and entertainment discussions. It differs from Instagram and Snapchat because it focuses on words and ideas rather than just photos and videos. Arab users find in it a space for expression and following personalities, celebrities, politicians, business figures, and intellectuals.
You can't fully browse Twitter without a registered personal account.
What You Need Before Starting
Just two requirements: either an active phone number that can receive SMS messages, or an email address as an alternative to a phone number. No official documents or bank cards are needed. Registration is completely free.
Complete Steps to Create a New Twitter X Account
Step 1 — Download the App and Open Registration
Download the Twitter X app from the App Store (iPhone) or Google Play (Android) for free. Open the app — the main screen will appear with two options: "Log in" and "Create account." Tap "Create account."
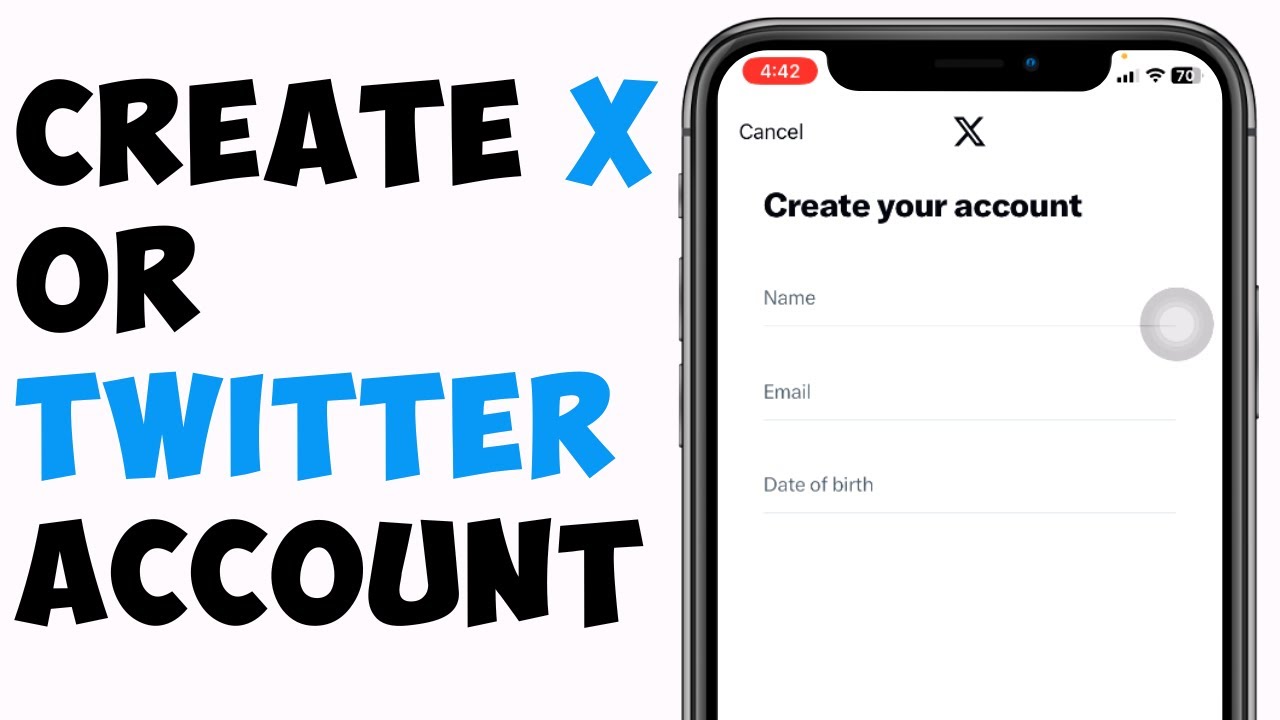
Step 2 — Enter Basic Information
A form will appear asking for: your name as you want it to appear on Twitter, registration method (phone number or email), and your date of birth. You must be 13 years or older. Enter this information then tap "Next."
Step 3 — Confirm Customization Settings
A page will appear asking about some experience customization settings. You can accept them or modify them then continue.
Step 4 — Verification Code
A numeric verification code will be sent to your phone number or email — depending on what you chose. Enter the code in the designated field. This step confirms that the number or email actually belongs to you.
Step 5 — Create a Strong Password
Choose a password combining uppercase and lowercase letters, numbers, and symbols. A strong password makes it difficult for anyone to break into your account. Don't use your name or date of birth as your password. Tap "Next" after entering it.
Step 6 — Add a Profile Picture
You'll be asked to add a profile picture. You can choose a photo from your device's library or take a new photo. If you don't want to add a picture now tap "Skip" — you can add it later.
Step 7 — Choose Your Username (@Username)
Your username is your identity on Twitter — it's preceded by the @ symbol and appears in your account link. For example @alaraby_tech. Twitter suggests available names based on your name. You can accept one of the suggestions or type a name of your choice — the app will tell you if the name is available or already used by others.
Tips for choosing a distinctive username: Keep it short and easy to pronounce, avoid long numbers at the end, make it reflect your personality or interests if you'll use it publicly.
Step 8 — Enable Notifications
The app asks if you want to enable notifications to receive tweets and replies as they're published. You can allow them or skip and adjust later from Settings.
Step 9 — Choose Your Interests
Twitter wants to know your interests to customize what's shown on your home page. You'll find multiple categories such as: sports, news, music, technology, entertainment, design and more. Choose what suits you — the more precisely you choose the better your experience will be.
Step 10 — Follow Recommended Accounts
Based on your interests and region Twitter will suggest popular accounts to follow. You can choose who deserves following now or skip this step and follow later.
After Creating the Account — Exploring Twitter X
You've now reached the Twitter home page. You'll find tweets from accounts you follow. From your profile picture icon you can access the side menu containing: your profile, settings and privacy, lists, Premium subscription, and more. You can immediately start writing your first tweet by tapping the feather icon or the highlighted button.
FAQs
CONTACT US
©2026 MobiTech Integrated Solutions. . All Rights Reserved